Today, I am creating a monogram design using washi tape and adhesive rhinestone strips in four simple steps!
Looking to add a personal touch to your home or party decor? Why not use a monogram letter?
In this tutorial, I'll transform a plain wooden letter into stylish monogram wall art!
Get ready to unleash your creativity and elevate your space with this fun and easy DIY project!
Jump to:
Supply List:
Links may go to similar items when exact items can't be found online. Help me continue to provide free tutorials by shopping my affiliate links. Please review our Privacy Policy.
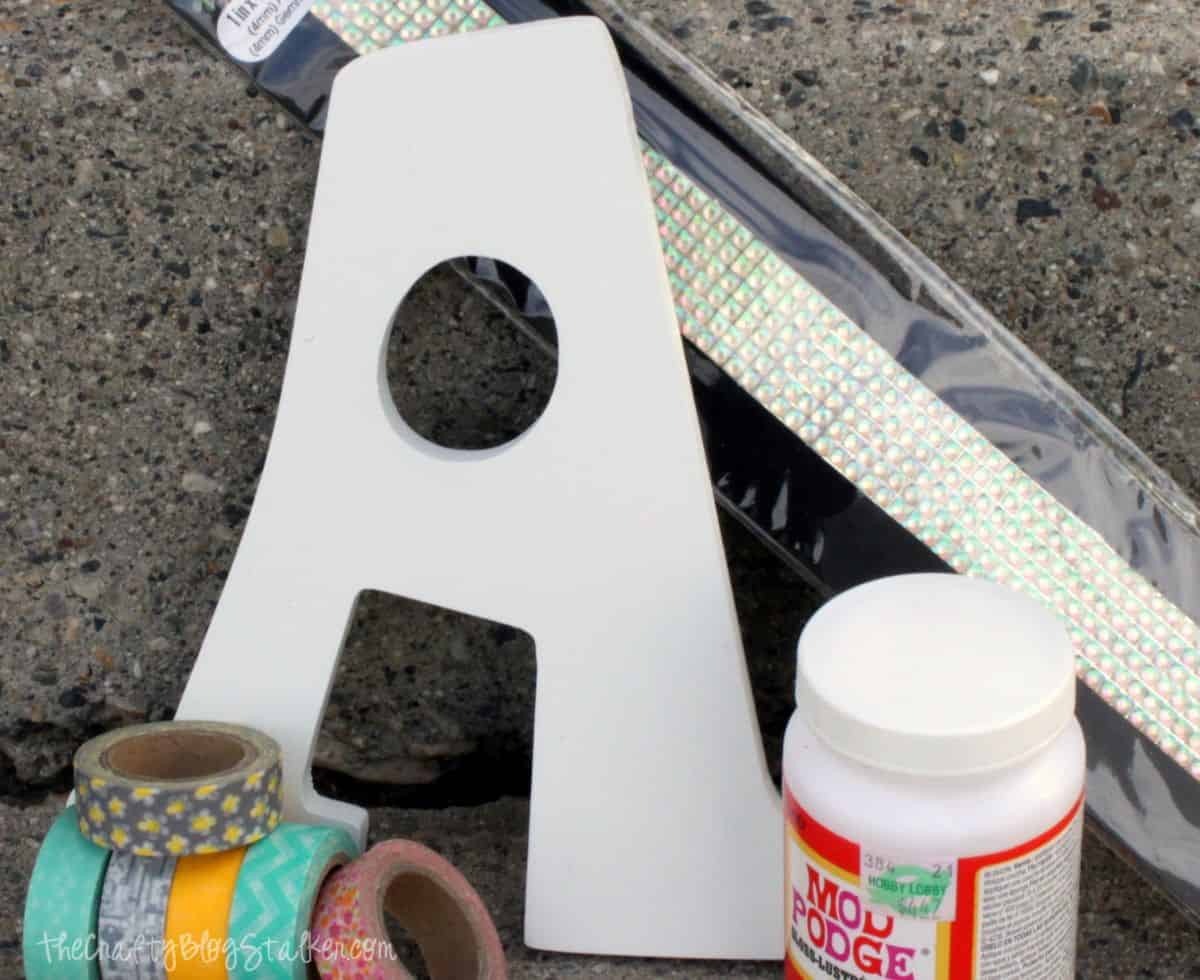
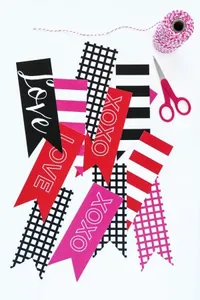
Washi Tape:
Begin by adding strips of washi tape to the wood letter. Laying the next strip right next to the one above.
I laid the strips at a diagonal, but this is your letter, you can decorate however you like!
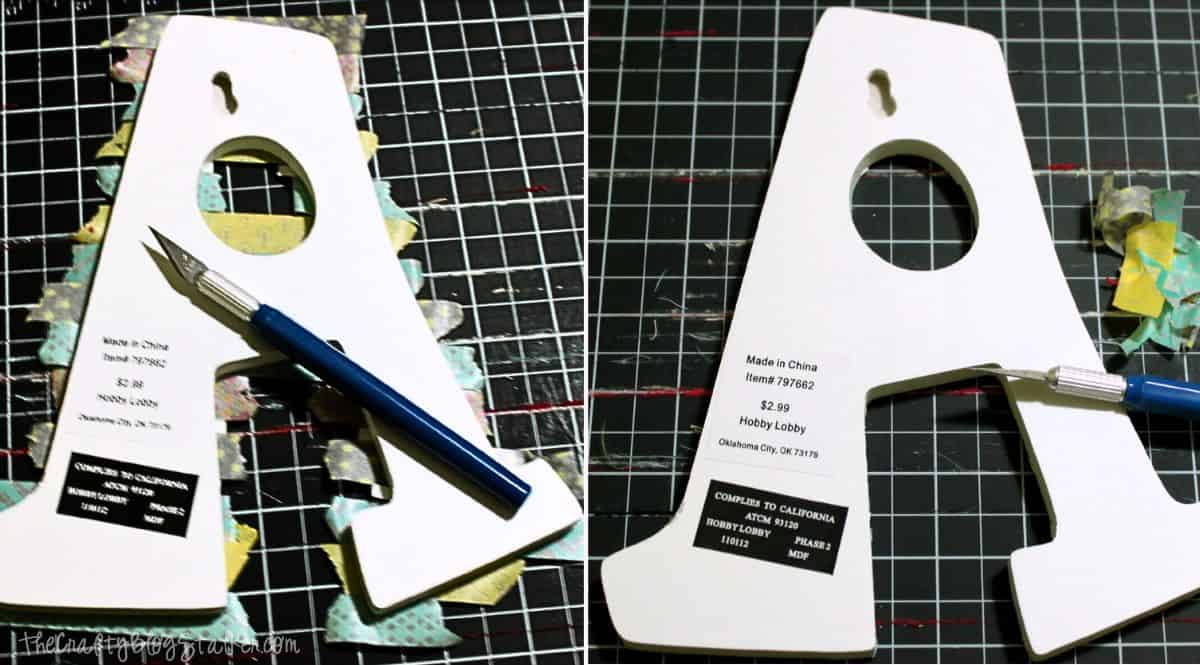
Place the letter on its front, and go around the edges with a sharp craft knife to trim the washi tape to the shape of the letter.
Adhesive Gemz:
The sheet of adhesive Gemz cuts apart easily with a pair of scissors.
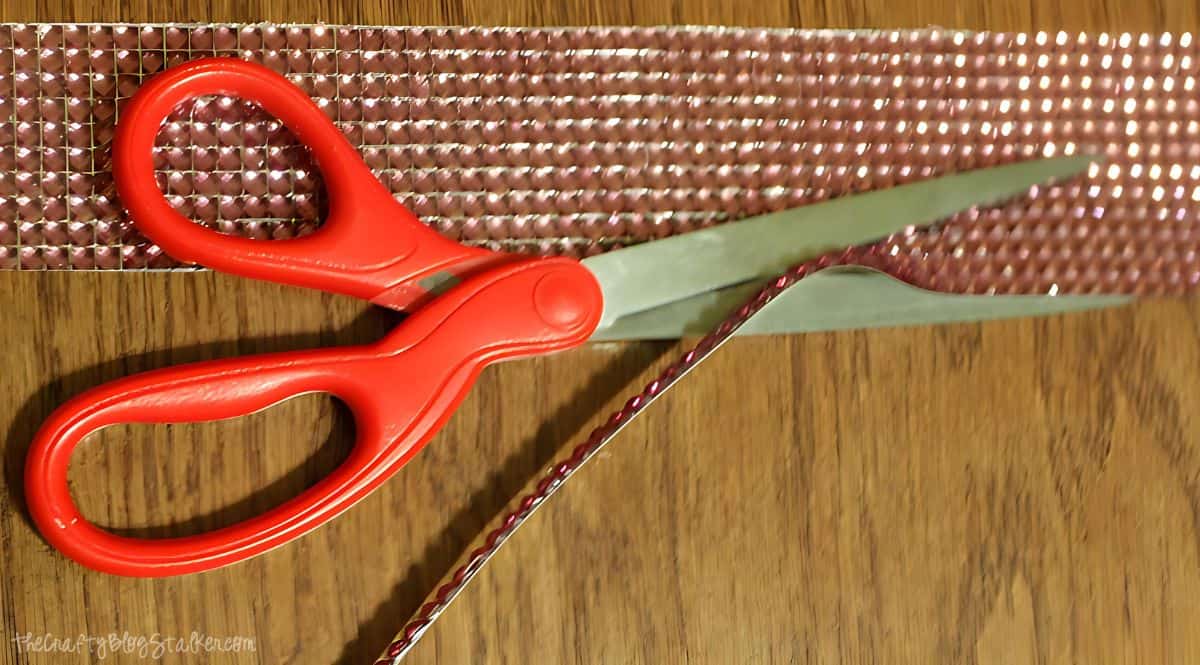
Cut a couple of strips with a single line of Gemz, and apply them to the front of the monogram letter.
Mod Podge:
Washi Tape can lift and curl, to secure the tape to the letter, apply a coat of Mod Podge.
I applied the Mod Podge with a foam brush, but a paintbrush would also work.
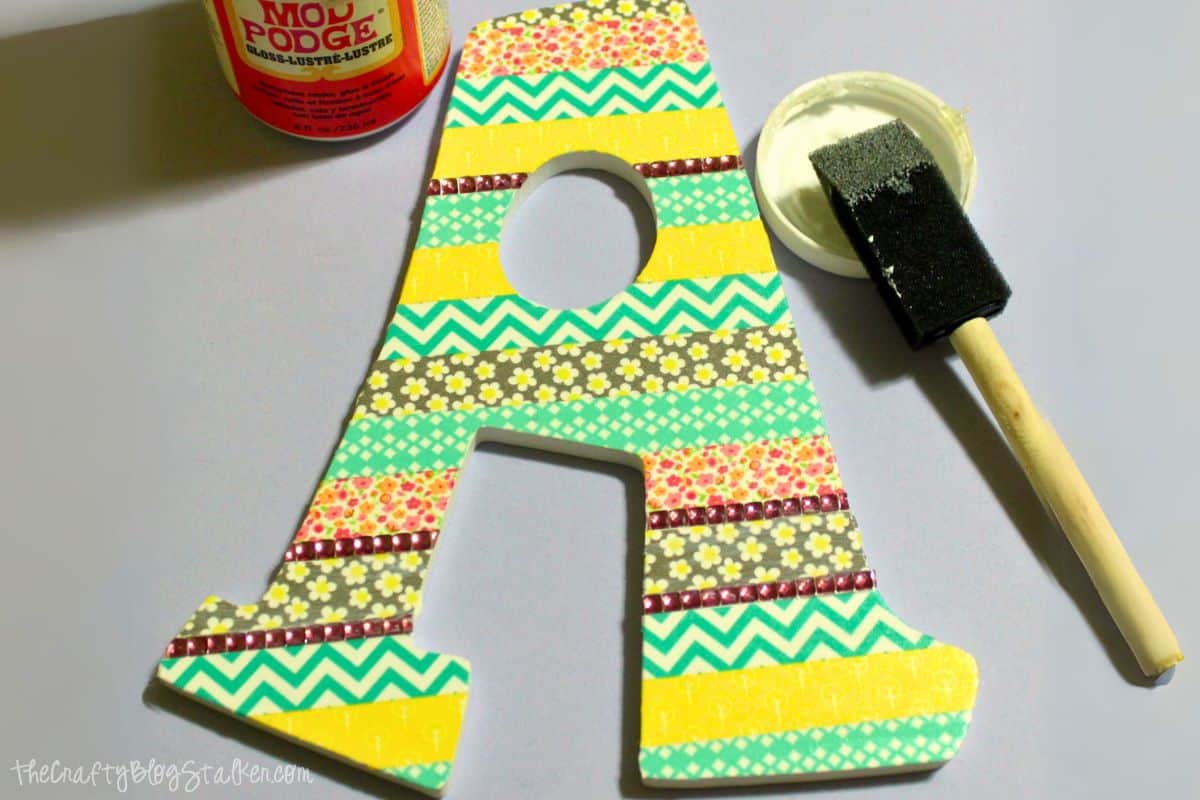
The Mod Podge doesn't take very long to dry - only 15 to 20 minutes.
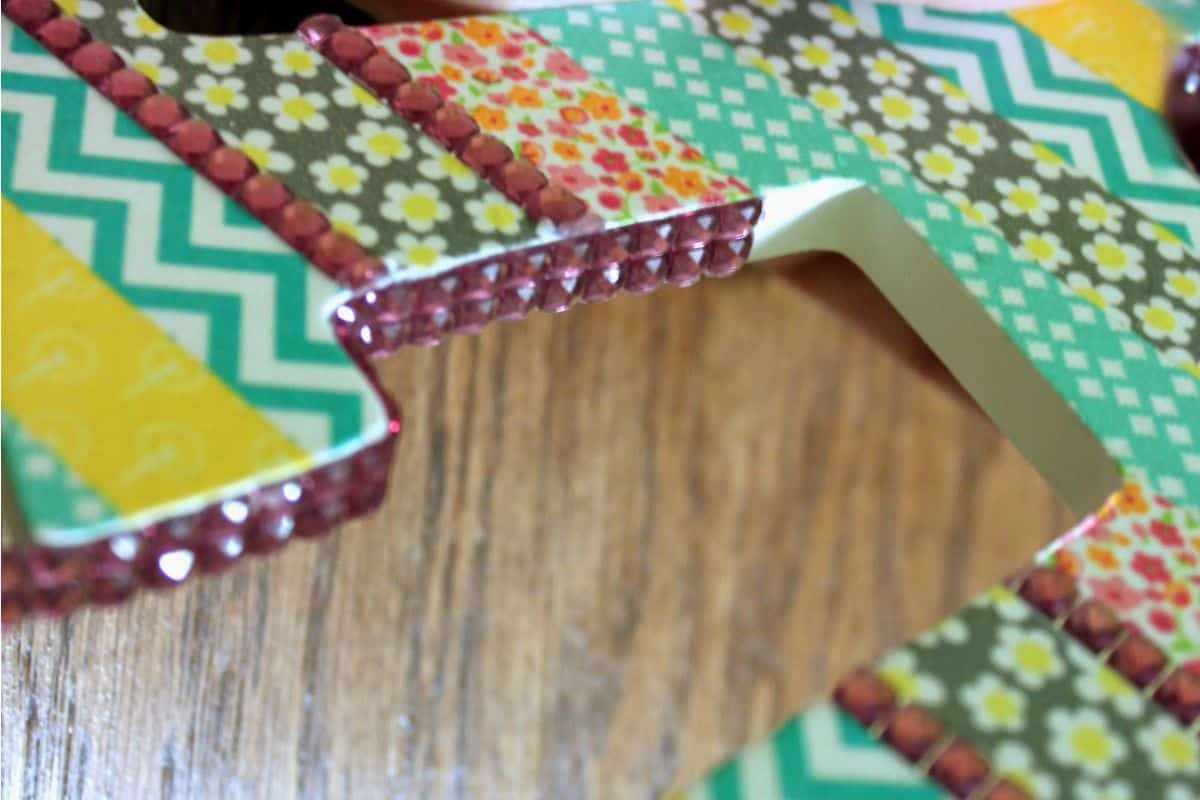
Letter Edges:
The width of monogram letters can vary, so make sure to measure yours.
The width of my later fit a double strip of Gemz perfectly, so I cut them into strips that were 2 Gemz wide.
Adhere the strips all the way around the letter edges. Don't forget the spot inside the letter too!
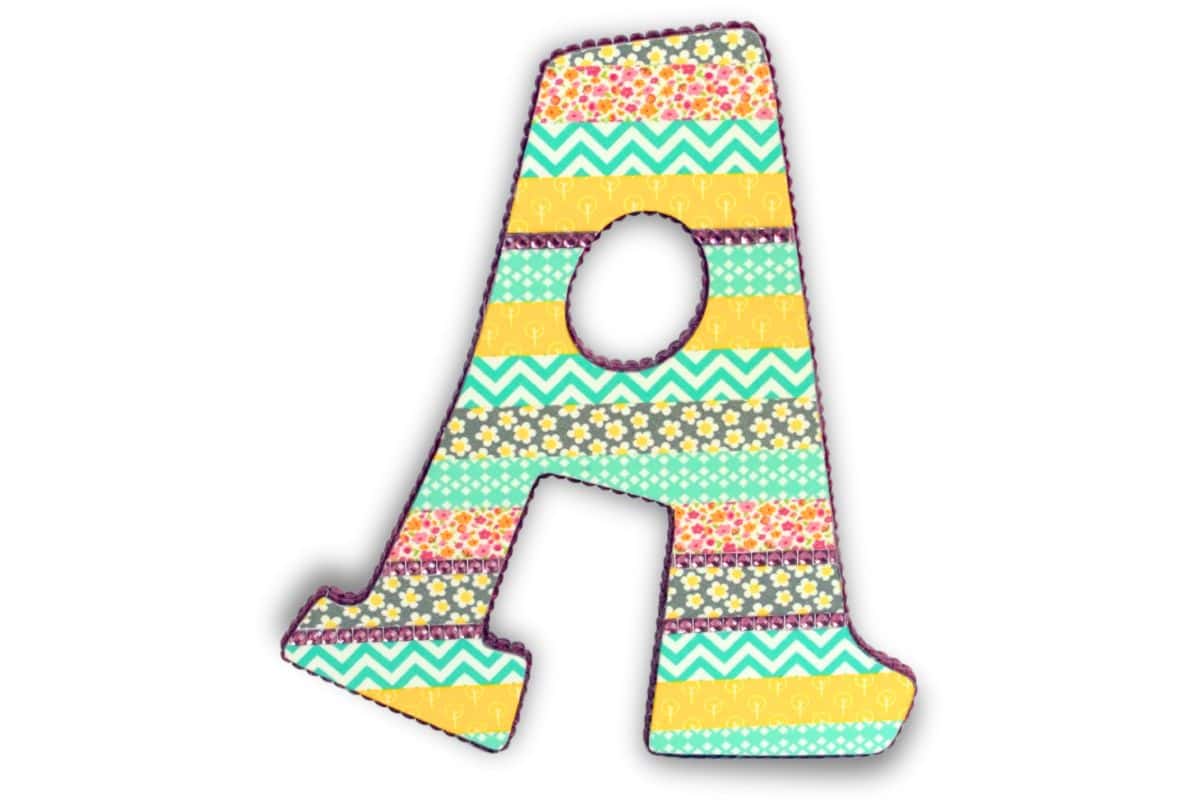
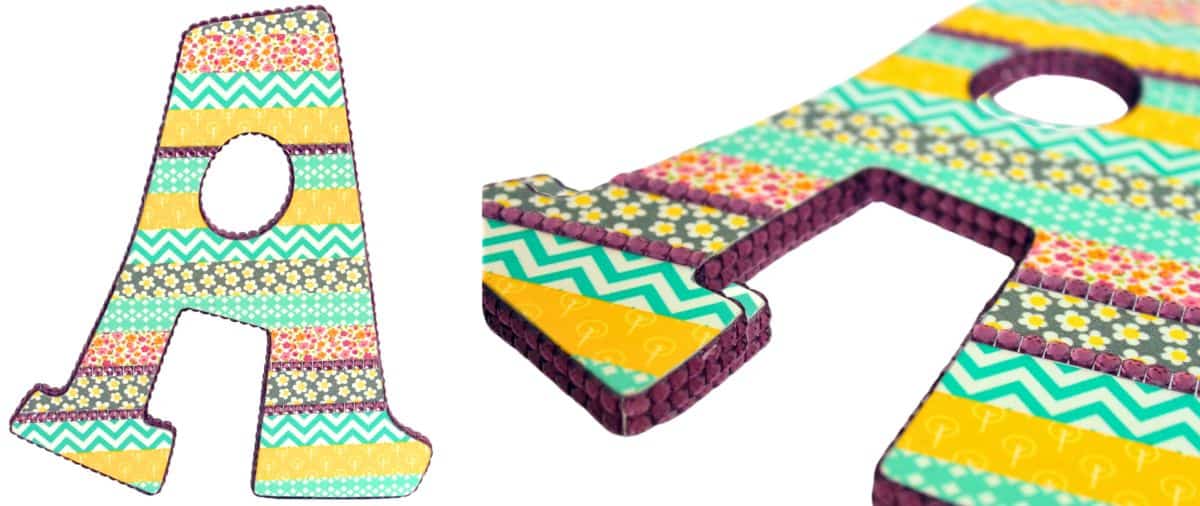
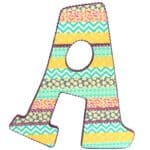
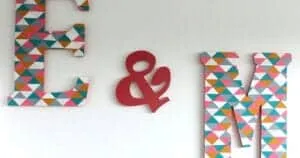
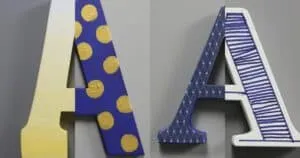
Finished Project:
I think it turned out fabulous! Now to find the perfect spot to hang it in my daughter's room
You guessed it, her name starts with an A! 🤣
Variations:
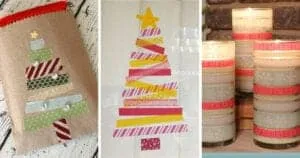
This is such a fun craft, there are many ways you could make it your own, besides just using your own monogram letter.
- Vinyl - cut designs using a Cricut or Silhouette to personalize the letter
- Cardstock - decorate with cardstock flowers or overlays
- Fabric - add fabric flowers or fabric strips, no sewing needed
- Sketches - draw or paint the letter to fit a theme
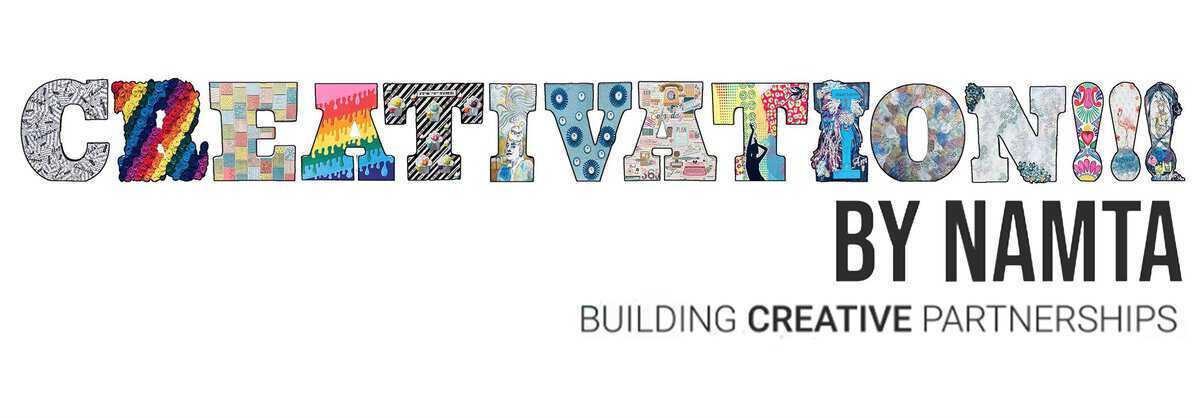
A group of crafters that I am a part of, each decorated a letter that formed a word for an event. Look at how many fun ways we decorated our letters!
Decorate a Wooden Monogram Letter
Materials
- Wood Monogram Letter
- Washi Tape
- Adhesive Gemz
- Mod Podge
Instructions
Washi Tape:
- Begin by adding strips of washi tape to the wood letter. Laying the next strip right next to the one above.
- Place the letter on its front, and go around the edges with a sharp craft knife to trim the washi tape to the shape of the letter.
Adhesive Gemz:
- The sheet of adhesive Gemz cuts apart easily with a pair of scissors.
- Cut a couple of strips with a single line of Gemz, and apply them to the front of the monogram letter.
Mod Podge:
- Apply a coat of Mod Podge with a foam brush or paintbrush.
- Let the Mod Podge dry completely.
Letter Edges:
- Measure the width of your letter to see how many strips of Gemz will fit.
- The width of my later fit a double strip of Gemz perfectly, so I cut them into strips that were 2 Gemz wide.
- Adhere the strips all the way around the letter edges. Don't forget the spot inside the letter too!
Notes
-
- Vinyl - cut designs using a Cricut or Silhouette to personalize the letter
-
- Cardstock - decorate with cardstock flowers or overlays
-
- Sketches - draw or paint the letter to fit a theme
Our Crafting Essentials:
- The Cricut Cutting Machine is easily our favorite crafting tool. We use it in so many of our tutorials!
- These MakerX Crafting Tools are perfect for keeping in the craft room and are always ready when needed!
- This Fiskars Paper Trimmer is easy to use and cuts nicely without frayed edges.
- These Scotch Precision Scissors cut like a dream, and you get multiple pairs in a pack!
Recommended Posts

Katie Adams
Creator at The Crafty Blog Stalker
- DIY Mirror Wall
- St. Patrick's Day Layered Paper Art with Cricut
- Poké Ball Clock with a Free Laser Cut File
- How To Frame Diamond Art in 4 Easy Steps
- 34 DIY Yarn Wall Hanging Crafts
- Seal a Diamond Painting and What Sealant to Use
- How to Glass Etch a Picture Frame
- Hanging Wall Art Tutorial
- 19 Embroidery Hoops Crafts for Home Decor
- How to Make Paper Flower Shadow Box Decor with Cricut
- Remembering Loved Ones: How to Create a Meaningful Pet Memorial Shadow Box
- How to Use a Scorch Marker for Wood Burning Art
lynn
Hello! Great job! Love it..
Anna-Marie Field
Hi There, Super cute,Super easy and Super WOW!!!
Love
AMarie
Dena
Very Cute!! Love the idea!
Randi@SowderingAbout
Such a cute idea! I love it!!
Mandy Beyeler
Thanks for linking to Take-A-Look Tuesday over at Sugar Bee Crafts - you were featured today!!
Huckleberry Love
So cute! I love anything involved washi tape. It's my weakness! 🙂
We'd love for you to share this at Much Ado About Monday, if you get a chance! http://www.huckleberrylove.com/2013/05/much-ado-about-monday-no-11.html
~Emily
http://www.huckleberrylove.com
The CSI Girl
Super cute! Love the colors of the washi tape.
The Arizona Russums
So cute. I am having my first baby and this might need to be a little project for the nursery!
Steph @ Crafting in the Rain
I love the bling on the sides...totally makes it stand out!
Little Treasures
Oh Katie, this is a fab idea!
I am going to use it for the Etsy Craft Party I am organizing and I will credit this to you!
nutzaboutstamping.com
What a great idea! I am going to try your idea for a scrapbook page this summer: use my Big Shot to diecut some letters and then apply Washi tape to decorate them! TFS.
nurturemybaby
Well, this is new to me actually! And I love Washi tape, Must have been living with my head in the sand. I might try it 🙂
Found you via Creative Mondays linky.
Stephanie R.
This turned out really pretty, I love how you added rhinestones!
Kim @ The Cookie Puzzle
This is sooo cute! I am in the process of doing my cookie/craft room, and this would be a perfect project to make to bang on the walls. I love all of the different patterned washi tape they make, I can never pick just one to use, thanks to you, I can use them all. Thank you for sharing.
Jennifer Johnson
Adorable! I love your added gems. Would be a great project for my daughter and her friends this summer!
Dina @ Kitchen Dreaming
Thank you for stopping by the Weekend Social over at Kitchen Dreaming, hope to see you again next week.
angie
love it A would actually be my letter and have to say it looks great
come see us at http://shopannies.blogspot.com
Jessica
I love this idea! I haven't seen it done before so I am really happy you shared! It is simple but so cute!
Jessica